Welcome on OXSEA SCHOOL !
Assembly videos, user manuals, after-sales support…
Everything you need is here!
If you need assistance, please contact our support team by email at customer@oxsea.com.
Download our user manuals in PDF format
ASSEMBLE YOUR TANK:
1. Remove the black cap.
2. Screw the head of the tank onto the body.
3. Tighten it as much as possible, applying slight force at the end. Be careful not to overtighten to avoid damaging the tank's threads.
ADJUSTING THE AIRFLOW:
⚠️ Turn the small nut very slightly ⚠️
1. No air or not enough air is coming out of your tank:
- In this case, turn the nut (using the Allen key) to the left to raise the valve slightly.
- Start with a half-quarter turn, close the tank, and test.
- If the airflow is still not sufficient, repeat the process, turning slightly more to the left.
- You can perform this operation even if your tank is filled.
2. There is an air leak from your tank, air is escaping, and you want to reduce the airflow to maximize your autonomy:
- In this case, turn the nut (using the Allen key) to the right to lower the valve slightly.
- Start with a half-quarter turn, close the tank, and test.
- If the leak is still there, repeat the process, turning slightly more to the right.
- You can perform this operation even if your tank is filled.
ASSEMBLY OF THE MEMBRANE:
When assembling the parts located under the head of your tank, it is important to follow this order:
1. Position the black membrane first, at the top.
2. Then place the washer, with the groove facing up, in contact with the membrane.
3. Once the membrane and washer are correctly positioned, insert the green gasket.
REPLACING THE ANTI-EXPLOSION DISK
ASSEMBLY OF THE OX500PLUS TANK:
1. Attach the head of the tank to the cylinder.
2. Remove the protections and tighten fully.
3. Connect the mouthpiece and adjust its position.
4. If you opt to install the external pressure gauge, remove the one already in place.
5. Equip yourself with the external regulator and attach it.
6. If you choose to install the external regulator:
7. Prepare the regulator and the hose. Tighten them firmly. If necessary, use a wrench for additional tightening.
8. After removing the cap above the air regulator, connect the hose inside.
9. Finally, insert your tank into the back harness and secure the head of your tank with the dedicated clasp.
ADJUSTING THE AIRFLOW:
⚠️ Turn the small nut very slightly ⚠️
1. No air or not enough air is coming out of your tank:
- In this case, turn the nut (using the Allen key) to the left to raise the valve slightly.
- Start with a half-quarter turn, close the tank, and test.
- If the airflow is still not sufficient, repeat the process, turning slightly more to the left.
- You can perform this operation even if your tank is filled.
2. There is an air leak from your tank, air is escaping, and you want to reduce the airflow to maximize your autonomy:
- In this case, turn the nut (using the Allen key) to the right to lower the valve slightly.
- Start with a half-quarter turn, close the tank, and test.
- If the leak is still there, repeat the process, turning slightly more to the right.
- You can perform this operation even if your tank is filled.
Assemble Your OX1000 Tank:
- Screw the head of the tank onto the body.
- Tighten fully, applying slight force at the end. Be careful not to overtighten to avoid damaging the tank's threads.
- Screw the regulator hose onto the tank.
- Screw the regulator onto the other end of the hose.
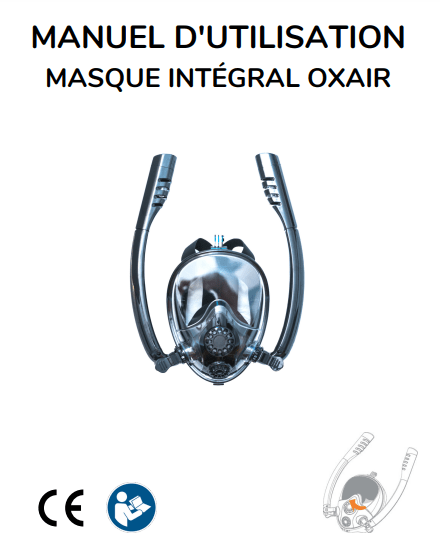
Connect the OXAIR Mask:
- Screw the appropriate regulator onto the OXAIR mask.
- Clip the mouthpiece onto the OXAIR mask.
Replacing the Air Regulator Seal:
1. Replacement
2. Reassembly
Replacing the Anti-Explosion Disk
Assemble Your Hand Pump:
- Take the base of your hand pump, found under the white padding.
- Clip the base directly to the pump using the magnetic system.
- To remove the base, press the button underneath.
Fill Your Tank:
- Connect the high-pressure hose of your pump to your tank.
- Ensure that the overpressure valve at the back of the tank is fully tightened.
- Follow this rhythm: 5 minutes of pumping/2 minutes of rest/5 minutes of pumping/2 minutes of rest, etc. The rest periods allow the pump to cool down.
- Once your tank is full, unscrew the overpressure valve to release the air in the hose.
- Remove the high-pressure hose from your tank.
Changing the Filters:
- Open the blue cartridge at its end.
- Empty the activated carbon into a container (only for the hand pump).
- Using a screwdriver or a knife, remove the cotton filter located at the bottom of the cartridge.
- Using the screwdriver, place the new cotton filter (the round one) correctly at the bottom of your filter cartridge.
- Put the activated carbon back into the cartridge.
- Replace the filter in the head of the cartridge with a new one.
- Close the cartridge tightly to prevent air leaks.
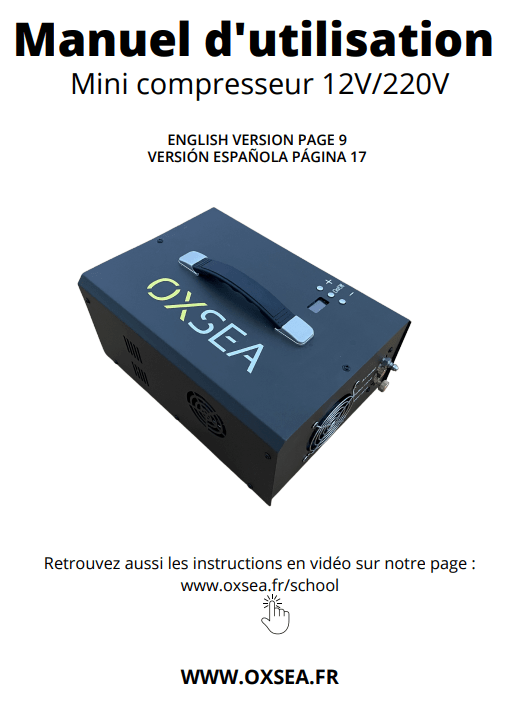
Mini compressor :
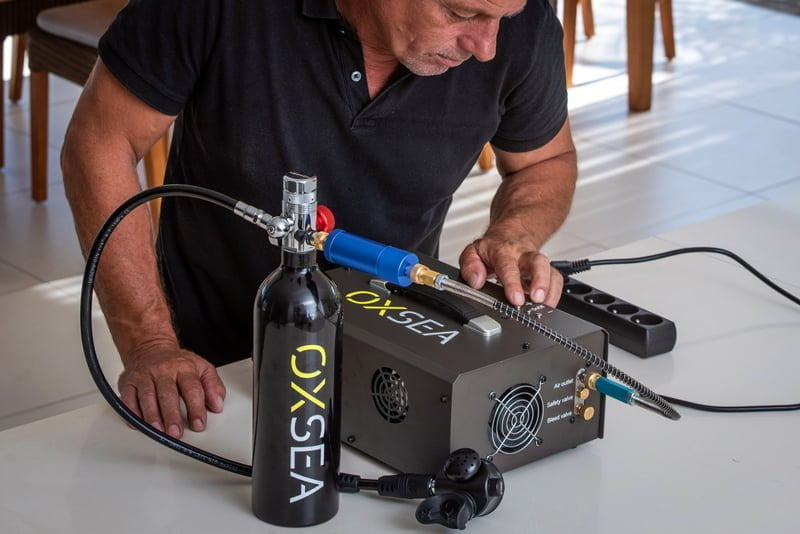
1. Connect your compressor using the 220V power cable or the crocodile clips if you are using a 12V battery.
2. Connect the high-pressure hose to your compressor. Then connect the filter cartridge to your tank.
3. Ensure the purge valve is closed by tightening it fully.
4. Select the desired pressure (200 bars) and press the ON button.
5. Once your tank is filled, the mini compressor will stop automatically.
6. ⚠️ Unscrew to open the purge valve and let the pressure escape ⚠️
7. Remove the high-pressure hose from the tank by pulling the end of the cartridge backward.
Refill stations (Yoke | Din) :
- Screw the recharging station onto the standard diving tank.
- Close the overpressure valve.
- Open the valve of the standard diving tank to transfer the air into the Oxsea tank.
- Close the valve of the standard diving tank once the Oxsea tank is filled.
- Slowly unscrew the overpressure valve to release the air from the hose.
- Unscrew the recharging station and the Oxsea tank.
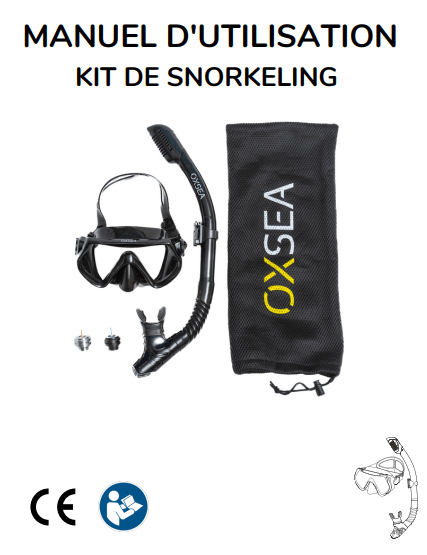
Kit Snorkeling :
1. Unscrew the cover located on the left side of your regulator.
2. Remove the mouthpiece from your snorkel.
3. Take your connector and screw it onto your regulator.
4. Insert the flexible part of the snorkel fully into the connector.
Pressure gauge :
1. Unscrew the basic pressure gauge.
2. Take your external regulator.
3. Screw it in fully. You can tighten it further with a wrench.
Having an issue with one of our products?
feel free to attach photos and videos to help them find a solution!

